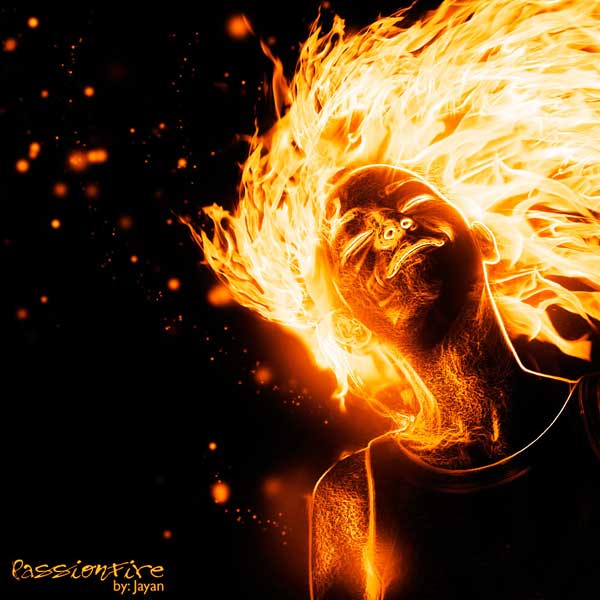
Final Product What You'll Be Creating
Editor’s note: This tutorial was originally published on Psdtuts in January 2009.
Step 1
For this project, I used two nice images that suits for the manipulation; image1, image2. I would like to thank the author of this two great pictures, which is thiquinho and huibidos from sxc.hu. And before we continue with the steps, I need to inform you that this tutorial is written using Photoshop CS3.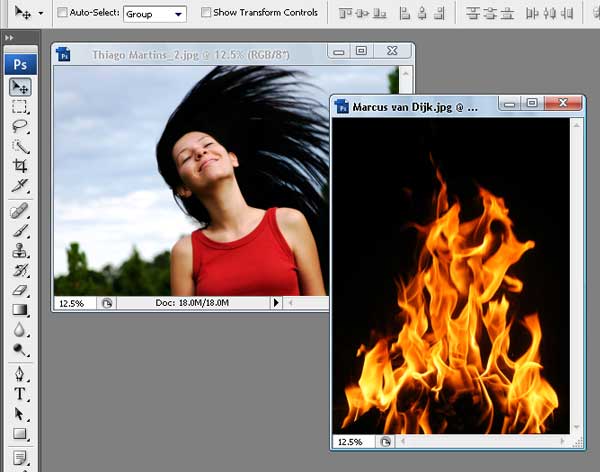
Step 2
Let’s start with image1, open and duplicate this image by using the Image > Duplicate command from the menu bar. In the Duplicate Image dialog box, you can name it anything you like, but to follow this tutorial reference, name it "PassionFire" and hit OK. By doing this, we kept the original image. Be sure to save.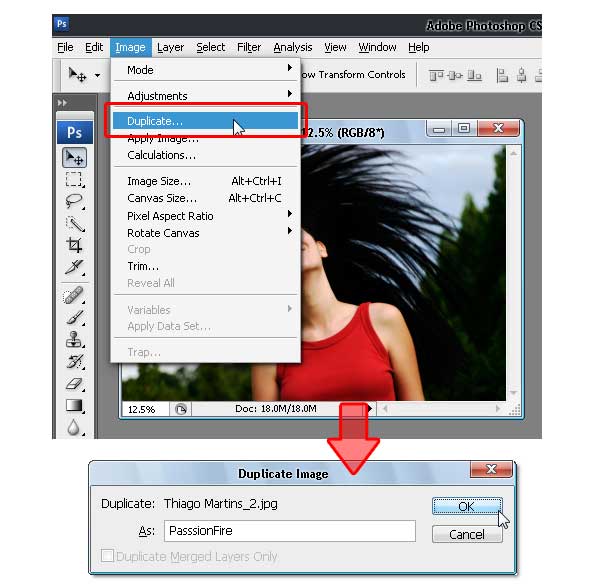
No comments:
Post a Comment