Step 22
Now to use the modified brush, create a new blank layer below the adjustment layers ( mine is named "Layer 4"). Choose 50% gray from the swatches palette, then you can start creating the fire sparks. Remember not to be monotone, resize the brush size if needed. I start using a big sized brush, then reduce it to smaller size (you can change brush size faster by pressing the bracket keys on the keyboard ).If you’re not sure how to do this steps, just imagine where and how the fire sparks will flow if it was real fire. For me, imagining stuff is very helpful.

Step 23
To make it more interesting, create a new layer and change the Blending Mode to Screen. Then use a normal soft round brush (not the one we modified earlier), with an Opacity of 50%. Just click in the part of body, neck, and hair. I’m not sure how to explain this, but you can see the difference between the above and below images.
Conclusion
And that’s all of it! Hope you learned something new and had fun. You can view the final image below or view a larger version here.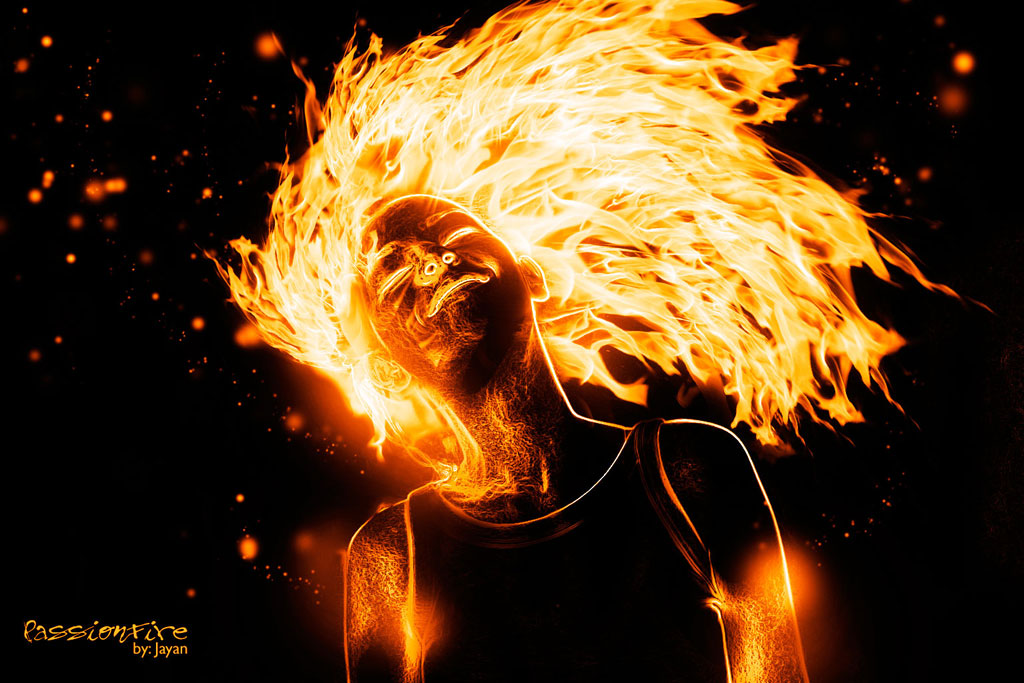
No comments:
Post a Comment